Create simple website using Adobe CQ5
Step – 1
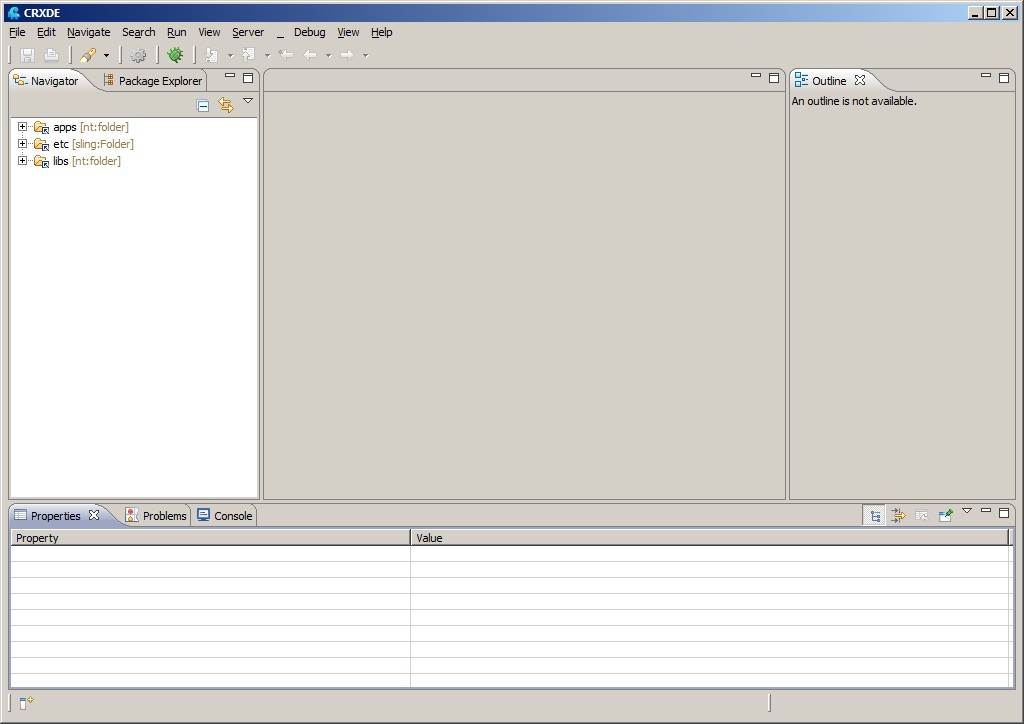
Run the server in available ports. You can specify 4501, 5400, 8080, etc…
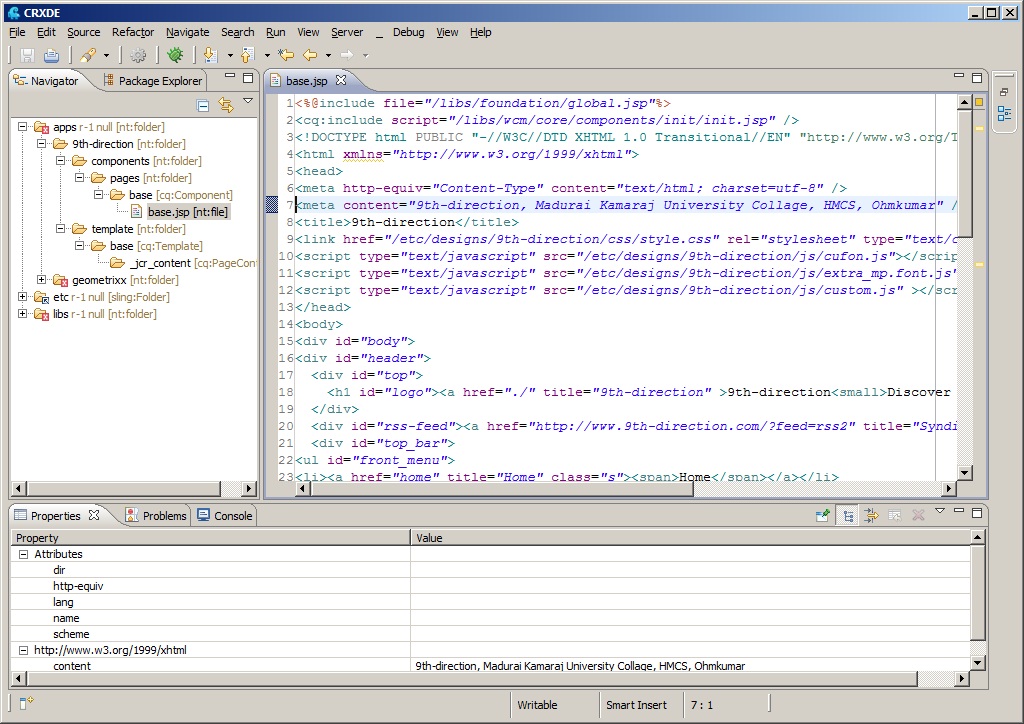
Open the CRXDE editor to start creating the website.
The default folder shown is apps, etc, libs.
Step – 2
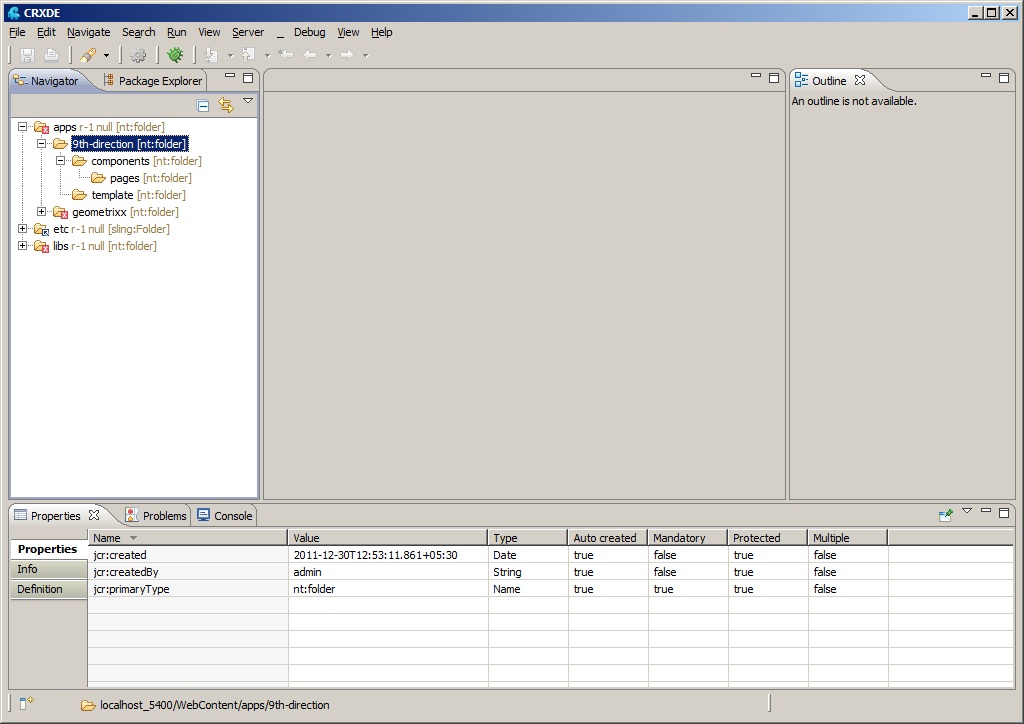
Create the folder of your website (9th-direction) under apps folder.
Under 9th-direction create components and template folders.
Inside the components folder create the pages folder to create your custom template’s jsp.
Look the below screenshot for your reference.
Step – 3
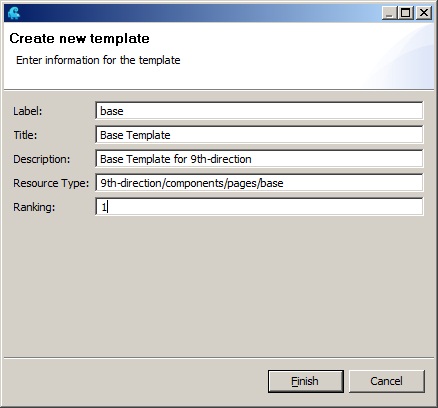
Create new template under template folder as like below screenshot.
Resource Type is mentioning the path which we are going to create the relevant jsp file consists the html and other information. Ranking defined is for the template order shown while creating the page.
Step – 4
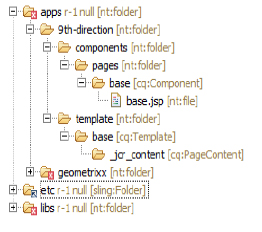
Create the component under components/pages/ with the base page details look like below screenshot.

Step – 5
Jump to WCM to create the page. Create the website folder (9th-direction) under websites.
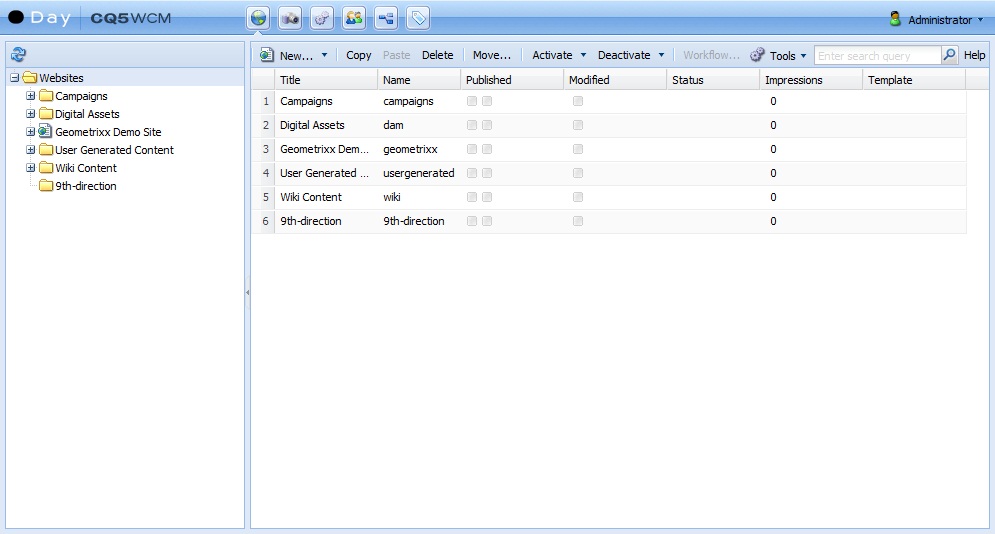
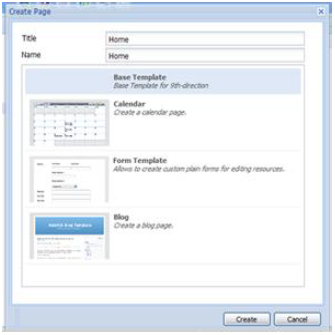
Now create the page with the available Base Template which we created before.
Step – 6
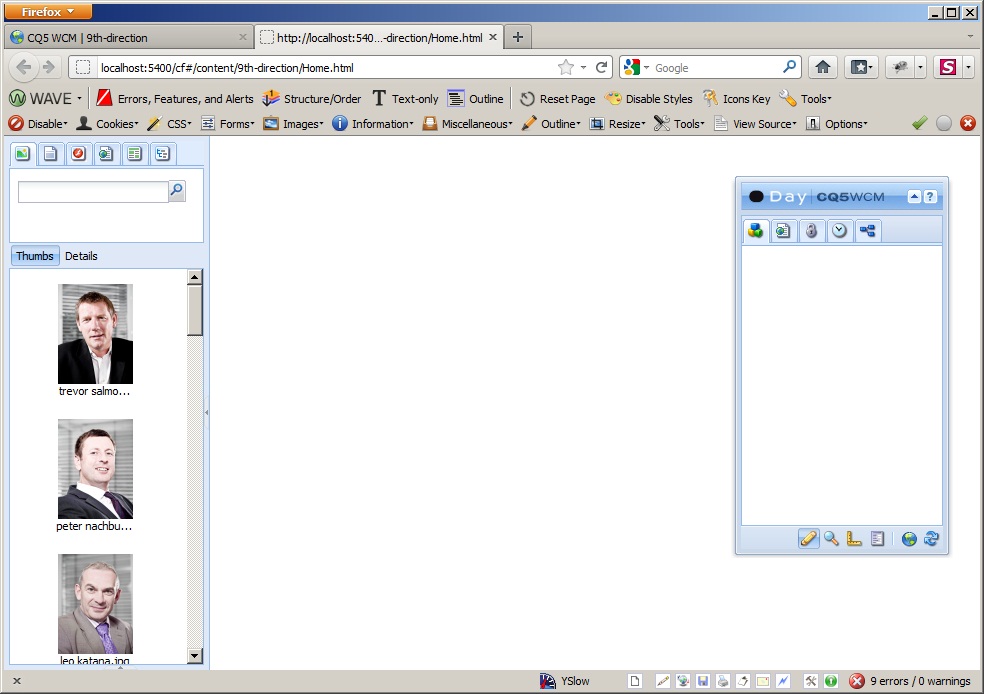
Include the init.jsp in base.jsp this script helps to include sidekick.
<cq:include script="/libs/wcm/core/components/init/init.jsp" />
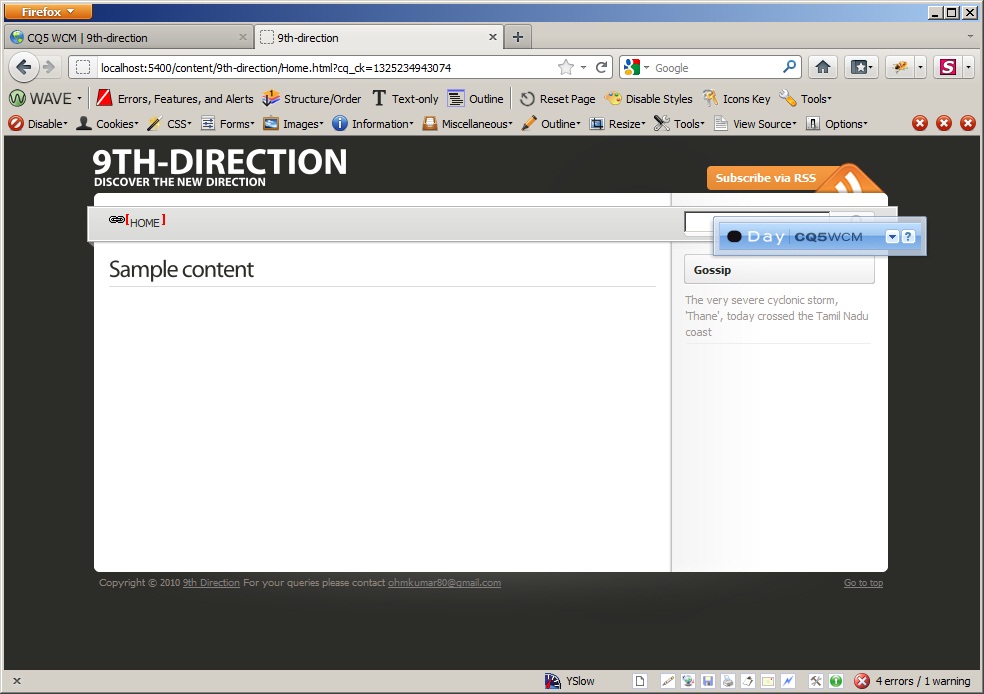
Double click the home page on WCM then check the page for sidekick. It will give the output of empty page with sidekick refer below screenshot.
Now put your HTML stuff in the base template.
Step – 7
Now place all your style related information (css/js/images) under etc/designs/9th-direction folder.

The final output of the template is look like below screenshot.
Step – 8
Finally you need to include the parsys inside the template to drag the editable component. The below cq:include is enough to include the parsys layer.
<cq:include path="parsys" resourceType="foundation/components/parsys" />
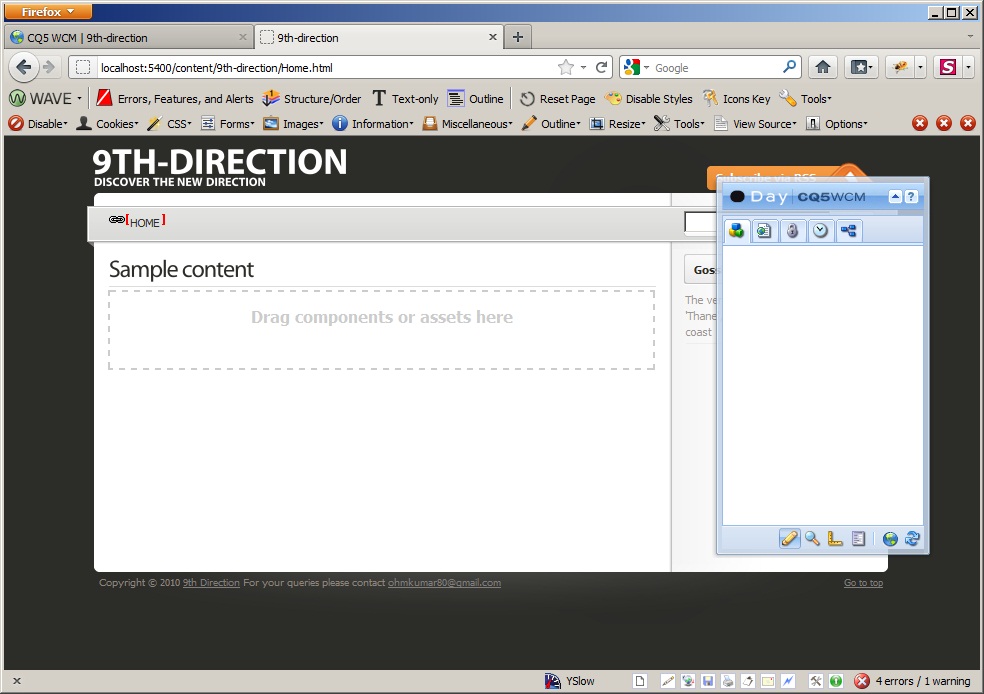
And you are finished creating the site with editable container. Now drag and drop your customized or pre defined components inside your pages. Enjoy 🙂


Hi,
I am new bee to Adobe CQ5. This example helped me to build first templates in CQ5. Thans a lot.
Please request to provide more examples.
Nice post..
Though i dont like to work in CRXDE as it slow down the speed very much..But CQ5 as a CMS tool is very nice. 🙂
This article helped me to create my first template ,thanks . Keep posting about templates and components